Please enjoy the read: Free link!
With the rise of multimodal Large Language Models (LLMs), we can now interact with them in more ways than just typing text, like using audio inputs. OpenAI has recently released a voice feature for ChatGPT, allowing one to talk directly with the chat platform. This opens up a myriad of novel opportunities and applications built around it.
As machine learning and Data Science practitioners, it’s an exciting time to be involved. Using OpenAI’s realtime speech to speech APIs, you can create a voice assistant powered by these multi-modal LLMs. However, if you are interested in the open-source libraries, you can build a voice assistant as well, completely in a local environment and without subscriptions to proprietary APIs!
Why local voice assistant?
- Data privacy
- No API calls limit
- Fine-tuning models
First, I am sure most people who use mainstream generative AI chatbots are aware of the data that was transmitted through their servers. A lot of people may be concerned about the data privacy issue and leak of information.
Second, using proprietary APIs can be subject to the API calls limitation. For example, the OpenAI’s realtime API is rate-limited to approximately 100 simultaneous sessions for Tier 5 developers, with lower limits for Tiers 1–4.
Third, the LLMs hosts behind these proprietary API gates are powerful but are not fine-tuned or tailored to your specific domain. On the other hand, a locally hosted LLMs-based voice assistant allows you do inference without transferring data over to the cloud server. And you can choose lightweight LLMs to fine-tune and deploy on a CPU machine (i.e. a laptop or mobile device). How nice is that! 🙂
In this post, I will walk you through how I built a voice assistant on a CPU-based machine. In fact, I did this on my intel CPU (2 GHz Quad-Core Intel Core i5) MacBook Pro laptop with 32 GB of RAM, no GPU involved!
Local Voice Assistant
To build a voice assistant, there are four main components that we will need to set up:
- Record the voice
- Convert voice to text
- Answer the question in text format
- Convert the text answer back to voice
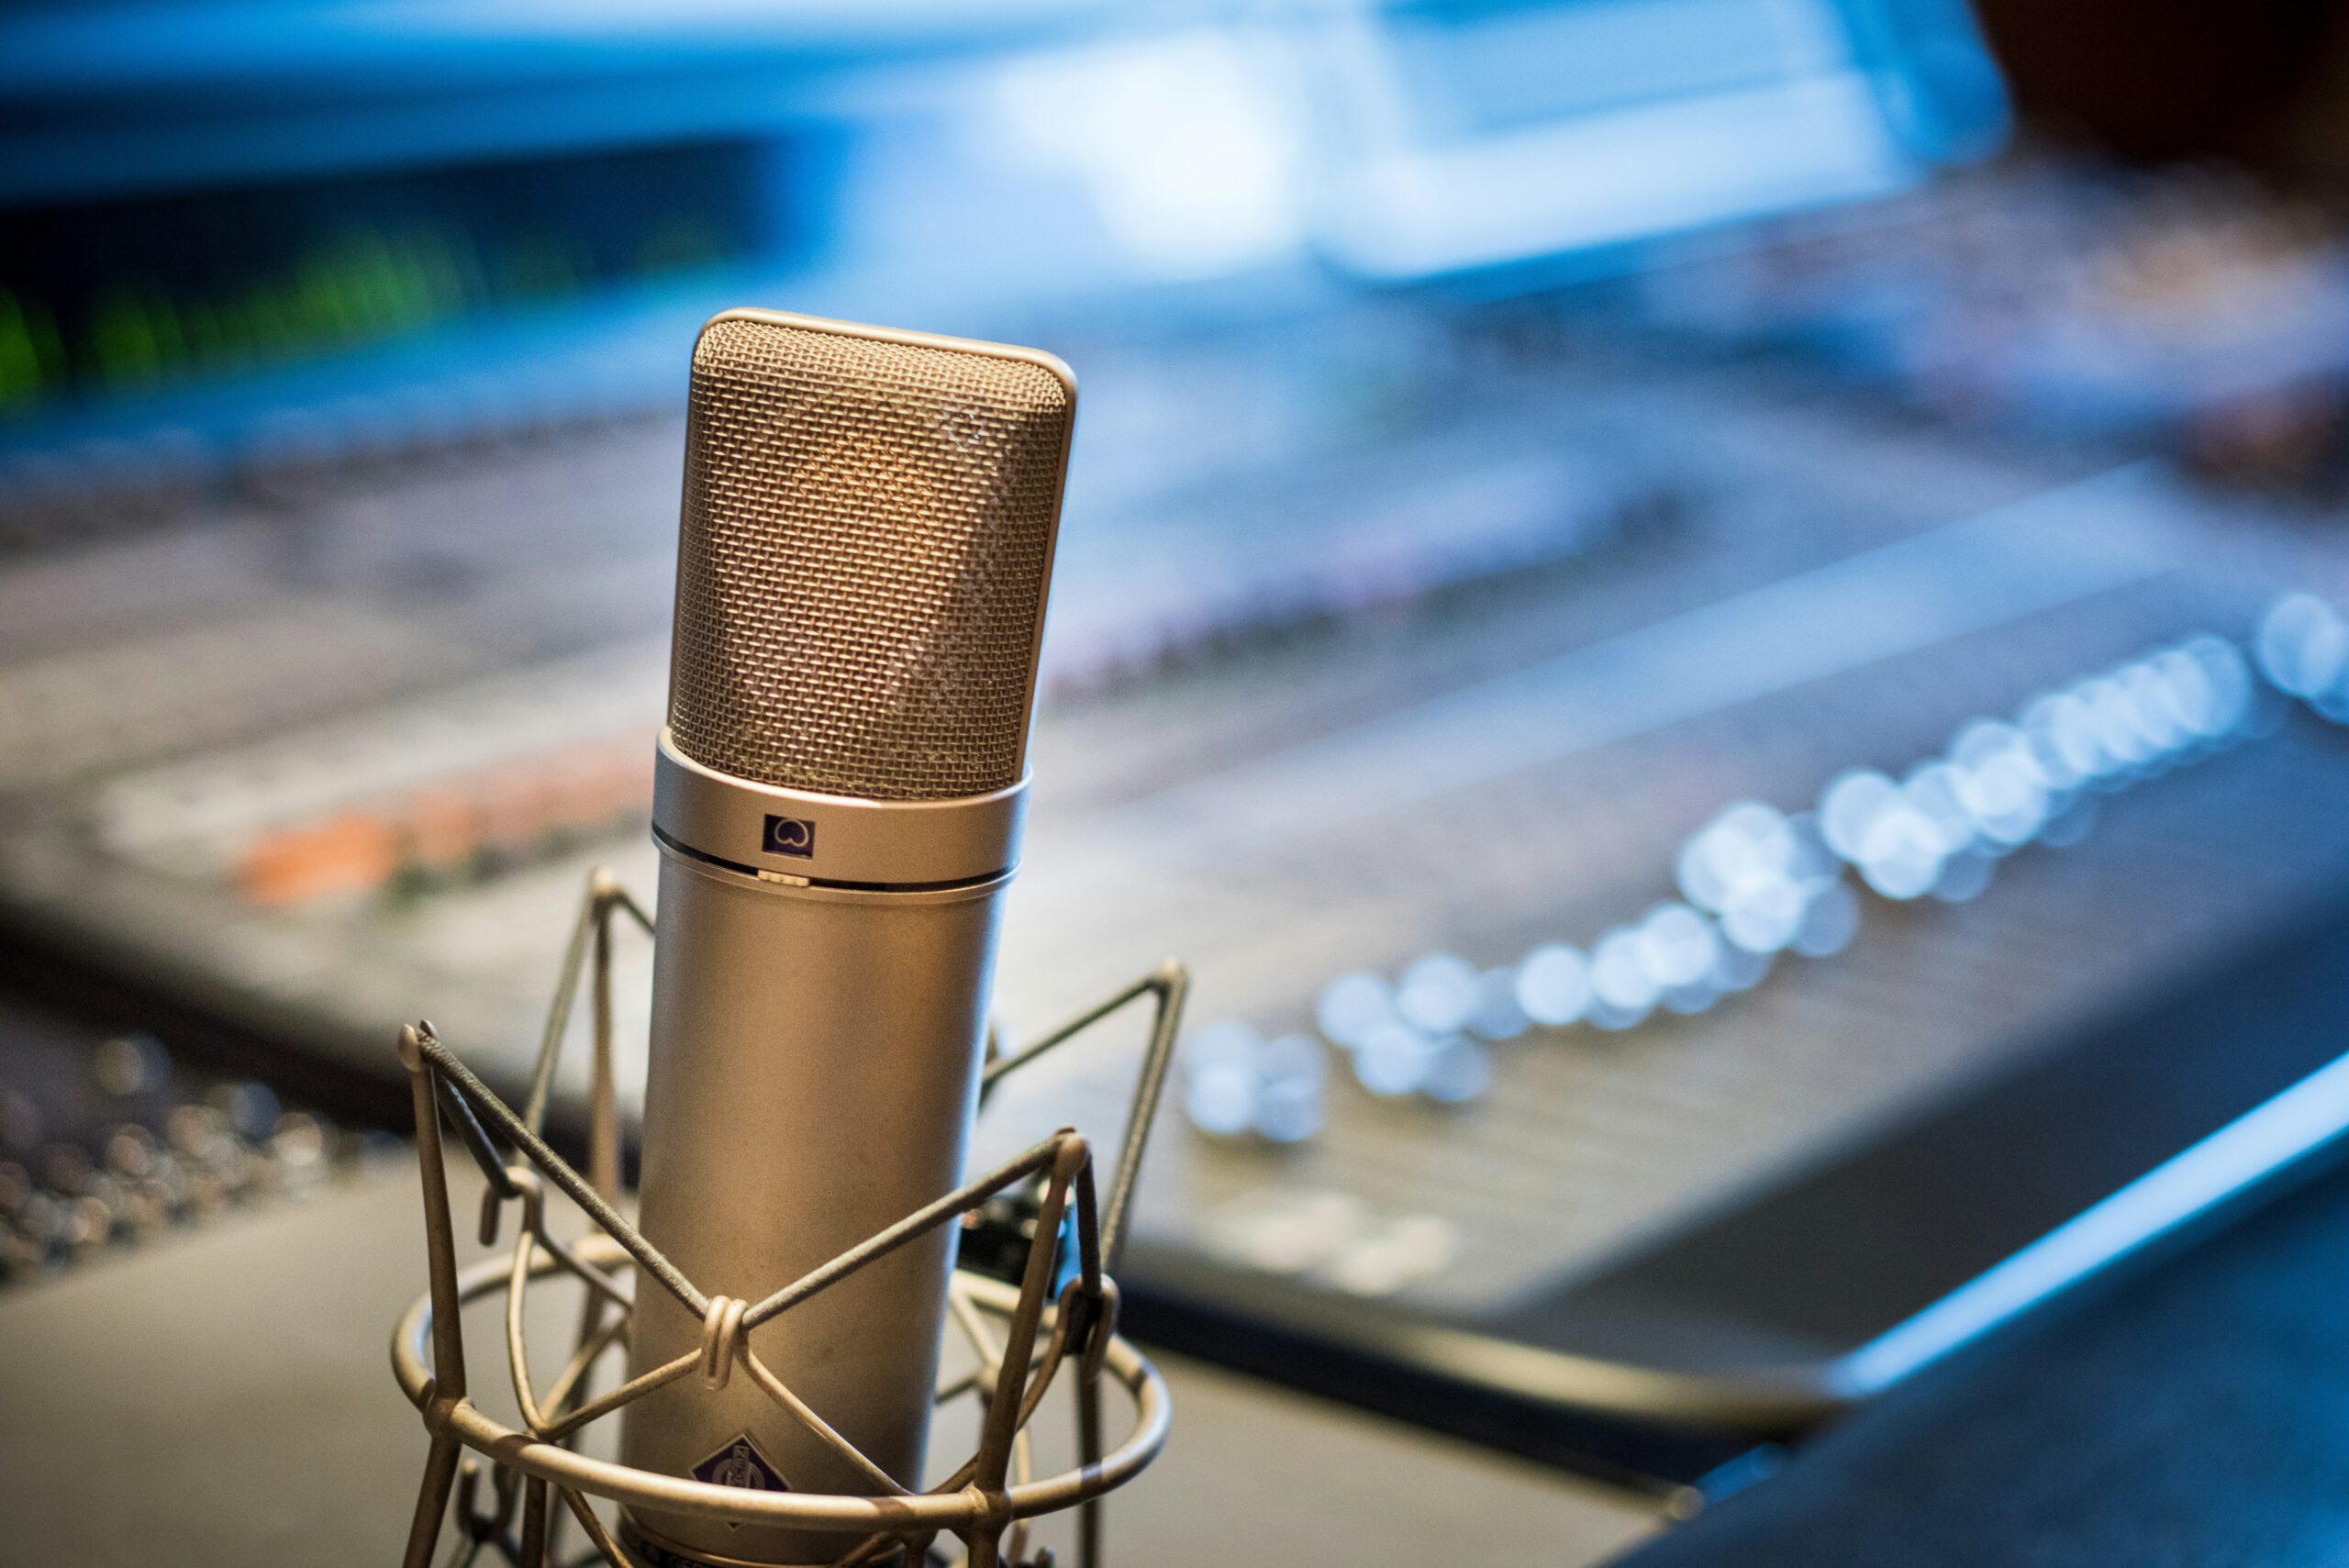
First, we need a library that can record audio from the device’s microphone. Conveniently, sounddevice library provides the functionality that allows one to capture audio and save it as a WAV file.
import sounddevice as sd
import wave

sampling_rate = 16000  # set sample rate to 16 kHz for compatibility with whisper.cpp

# Record audio using sounddevice
recorded_audio = sd.rec(
    int(duration * sampling_rate),
    samplerate=sampling_rate,
    channels=1,
    dtype=np.int16,
)
sd.wait()  # Wait until recording is finished

# Save audio to WAV file
audio_file = "<PATH>/recorded_audio.wav"
with wave.open(audio_file, "w") as wf:
    wf.setnchannels(1)
    wf.setsampwidth(2)  # 16-bit audio
    wf.setframerate(sampling_rate)
    wf.writeframes(recorded_audio.tobytes())
The sampling rate is set to 16000 to match the rate used by the OpenAI’s Whisper model.
Next, we use OpenAI’s Whisper model to transcribe audio to text. For this, we select the ggml-base.en.bin model. However, there are a wide range of models that you can choose and experiment with.
import subprocess

WHISPER_BINARY_PATH = "/<PATH>/whisper.cpp/main"
MODEL_PATH = "/<PATH>/whisper.cpp/models/ggml-base.en.bin"

extracted_text = ""
try:
    result = subprocess.run(
        [
            WHISPER_BINARY_PATH,
            "-m",
            MODEL_PATH,
            "-f",
            audio_file,
            "-l",
            "en",
            "-otxt",
        ],
        capture_output=True,
        text=True,
    )
    # Display the transcription
    transcription = result.stdout.strip()
except FileNotFoundError:
    st.error(
        "Whisper.cpp binary not found. Make sure the path to the binary is correct."
    )
Then, we can use an LLM to generate a text-based answer. Here, we use Ollama‘s server to load a lightweight LLM, qwen:0.5b, which is about 400 MB, so that it can easily fit into my laptop’s memory. A utility function, run_ollama_command, is used to achieve that.
import subprocess

def run_ollama_command(model, prompt):
    try:
        # Execute the ollama command using subprocess
        result = subprocess.run(
            ["ollama", "run", model],
            input=prompt,
            text=True,
            capture_output=True,
            check=True,
        )

        # Output the result from Ollama
        print("Response from Ollama:")
        print(result.stdout)
        return result.stdout

    except subprocess.CalledProcessError as e:
        # Handle errors in case of a problem with the command
        print("Error executing Ollama command:")
        print(e.stderr)
We give it a simple prompt, asking LLM to answer the transcribed text in less than 15 words.
# Parse the transcription text
# Use regex to find all text after timestamps
matches = re.findall(r"] *(.*)", transcription)

# Concatenate all extracted text
concatenated_text = " ".join(matches)

# Call ollama to get an answer
prompt = f"""
Please ignore the text [BLANK_AUDIO]. Given this question: "{concatenated_text}, please answer it in less than 15 words."
"""
answer = run_ollama_command(model="qwen:0.5b", prompt=prompt)
Finally, we can use another model to transcribe the answer in text format to audio using NVIDIA’s NeMo toolkit. The fastpitch_model (a transformer network) converts the text answer into a spectrogram, and then hifigan_model (a Generative Adversarial Network) is used to convert the spectrogram into an audio waveform.
# Integrate NVIDIA NeMo TTS to read the answer from ollama
if answer:
    try:
        # Load the FastPitch and HiFi-GAN models from NeMo
        fastpitch_model = nemo_tts.models.FastPitchModel.from_pretrained(
            model_name="tts_en_fastpitch"
        )
        hifigan_model = nemo_tts.models.HifiGanModel.from_pretrained(
            model_name="tts_en_lj_hifigan_ft_mixerttsx"
        )

        # Set the FastPitch model to evaluation mode
        fastpitch_model.eval()
        parsed_text = fastpitch_model.parse(answer)
        spectrogram = fastpitch_model.generate_spectrogram(tokens=parsed_text)

        # Convert the spectrogram into an audio waveform using HiFi-GAN vocoder
        hifigan_model.eval()
        audio = hifigan_model.convert_spectrogram_to_audio(spec=spectrogram)

        # Save the audio to a byte stream
        audio_buffer = BytesIO()
        torchaudio.save(audio_buffer, audio.cpu(), sample_rate=22050, format="wav")
        audio_buffer.seek(0)

    except Exception as e:
        print(f"An error occurred during speech synthesis: {e}")
Does it work?
Bringing everything together, I used Streamlit to create a prototype. Here’s the overall system diagram. The Streamlit app provides a start button for users to record audio. The audio is recorded and saved as WAV file using sounddevice. Then a whisper.cpp model transcribes the WAV file to text. LatentDirichletAllocation is applied for topic modeling, along with CountVectorizer for word counts, which provides insights into the voice input. Afterward, a local LLM model, qwen:0.5b , is used to generate a text-based answer to the question. Finally, NVIDIA’s NeMo toolkit is used to transcribe the text back to speech, which is then displayed in the Streamlit app for users to review.

Please take a look at the video below to see how it works as well. I asked the voice assistant to provide a good recipe for making a delicious pizza. The spoken answer appears at 54 seconds into the video. Please feel free to fast forward to that point to check out out the response. 🙂 There is definitely room for improvement in terms of latency!
What Else Can be Improved?
Great, I just walked you through setting up a local voice assistant on a CPU laptop! Now, what else could we improve? The list could be long, but here are my personal top picks: adding features to search and filter past conversations, organize them with labels or tabs, make it multilingual, and allow users to know where the source of answers are from.
Final Thoughts
With the increased popularity of multi-modal LLMs, we now have more ways to interact with AI tools. However, the principles applied to other Machine Learning models also apply to generative AI models. These models can sometimes generate hallucinated answers, so it’s important to verify the accuracy of their outputs and remain mindful of fairness and ethics. Nevertheless, the local voice assistant is helpful for many tasks and requires to run on CPU only. It can be extended to run on mobile devices too. If you have interesting ideas for extending this or suggestions, please don’t hesitate to reach out or share them with other readers as well. I would also suggest giving Open WebUI a try, as it integrates audio models and can run locally as well. I hope you enjoyed reading the post. 🙂


